
A slow WordPress website is rarely caused by one setting. Your server may spend too long building a page, an oversized image may delay its main content, or a collection of scripts may make the menu unresponsive after everything appears to have loaded. Each problem needs a different fix.
This guide is for business owners who want a clear sequence to follow with their developer. The goal is a site that feels fast during actual visits: customers can read, browse, enquire and buy without unnecessary waiting. The examples are explanatory, not results from a claimed client project.
What does a fast WordPress website actually mean?
Think about three moments: the page starts responding, its useful content becomes visible, and its controls respond to a visitor. “Fully loaded” does not describe all three. A page can keep fetching analytics in the background while already being usable, or finish downloading and still freeze when someone opens a filter.
| What the visitor notices | What to inspect | Likely area of work |
|---|---|---|
| A long wait before anything arrives | Time to First Byte, cache misses, server logs | Hosting, PHP, database and remote calls |
| The page appears but the main image arrives late | LCP element and network waterfall | Image discovery, size and rendering |
| Menus or filters react slowly | Interaction trace and INP | JavaScript and layout work |
| Buttons jump while the page loads | Layout-shift events and CLS | Media dimensions, fonts and embeds |
Google’s good Core Web Vitals thresholds are LCP at or below 2.5 seconds, INP at or below 200 milliseconds, and CLS at or below 0.1, assessed at the 75th percentile. These are experience targets, not a promise of a search position. See Google’s Core Web Vitals guidance for the distinction.
1. Establish a baseline before installing anything
Choose a small set of representative URLs: the homepage, a service page, a long article, and your main conversion flow. A shop should also include a category, product, cart and checkout. Test anonymous visitors separately from signed-in users, because their cache behavior and page content can differ.
Use PageSpeed Insights to separate available field data from a simulated Lighthouse test. Field data describes eligible real visits; a laboratory test helps reproduce problems under controlled conditions. If a page has insufficient field data, say so in the audit. An origin-level summary is not proof that every URL behaves the same way.
Save the date, URL, device profile, connection settings, cache state and test output. Repeat comparable runs instead of selecting the fastest result. Add a short recording of the interaction customers complain about. That recording can reveal a problem that a score alone misses.
Before changes, create a restorable backup and a staging copy. Write down the features that must still work. A quicker page with a broken enquiry form has failed the business requirement.
2. Fix the response path: hosting, caching and origin work
Start with the document request in the browser’s Network panel. If the response is slow, ask whether the wait occurs on every visit or mainly on cache misses. Then inspect server resources, PHP execution, database activity and any outside service contacted while building the page.
Choose hosting based on the application’s needs and support quality, not only a promised bandwidth allowance. Useful questions include: Does the host provide staging and tested backups? Which PHP releases are supported? Can you see slow requests and resource saturation? Who helps when a cache rule breaks checkout? A platform upgrade is justified when measurements show the current platform is a constraint.
Compare a public-page cache miss with a cache hit. This is a conceptual flow, not a measured speed test.
The browser requests a URL. The request includes context such as cookies, which can affect whether shared caching is safe.
A cache checks whether a valid public response is available and whether the request is eligible to use it.
On a cache miss, WordPress runs the relevant theme and plugin code. A full-page cache hit can bypass this origin rendering work.
Database queries and external requests may add work on the uncached path. Object caching can help suitable repeated lookups.
The browser receives HTML, fetches required assets and renders the page. A cache hit does not remove image, script or interaction work.
Private and personalized responses require separate cache rules. A faster route must never share one visitor’s data with another.
Understand the three caches before configuring them
- Browser caching lets a returning visitor reuse unchanged static files. Version CSS, scripts and images so updates have a reliable delivery path.
- Page caching stores a generated response so a public page need not be rebuilt for every request. It can live at the server, a compatible plugin layer or a CDN.
- Object caching reuses application data and query results. A persistent object cache can help suitable workloads across requests, but it does not replace a complete HTML page cache.
Coordinate these layers. Assign responsibility for each cache and test invalidation after an editor changes or unpublishes content. Installing several plugins that rewrite the same assets or cache the same response makes failures harder to diagnose.
Never apply a blanket “cache everything” rule to a business site. Account pages, personalized responses, carts, checkouts and payment callbacks need deliberate treatment. Verify cookies, methods, query parameters and bypass rules with the developer or host. Test using two independent sessions to make sure one customer cannot receive another customer’s information.
Improve the uncached path too
Caches expire, get purged and miss. Profile slow queries and expensive plugin hooks instead of hiding all delays behind a warm cache. Move suitable external API work out of page rendering, add bounded timeouts, and keep cached fallback data only when the business can tolerate it. Use supported PHP and check compatibility before upgrading.
Do not copy arbitrary database indexes or server-memory settings into production. Investigate the specific workload, test the change, and keep a rollback. The WordPress optimization handbook is a useful starting reference.
3. Make the main content appear sooner
Identify the actual LCP element in a trace. On one page it may be a photograph; on another, a heading. This matters because the right fix could be an image size, a delayed resource request, a stylesheet or a font.
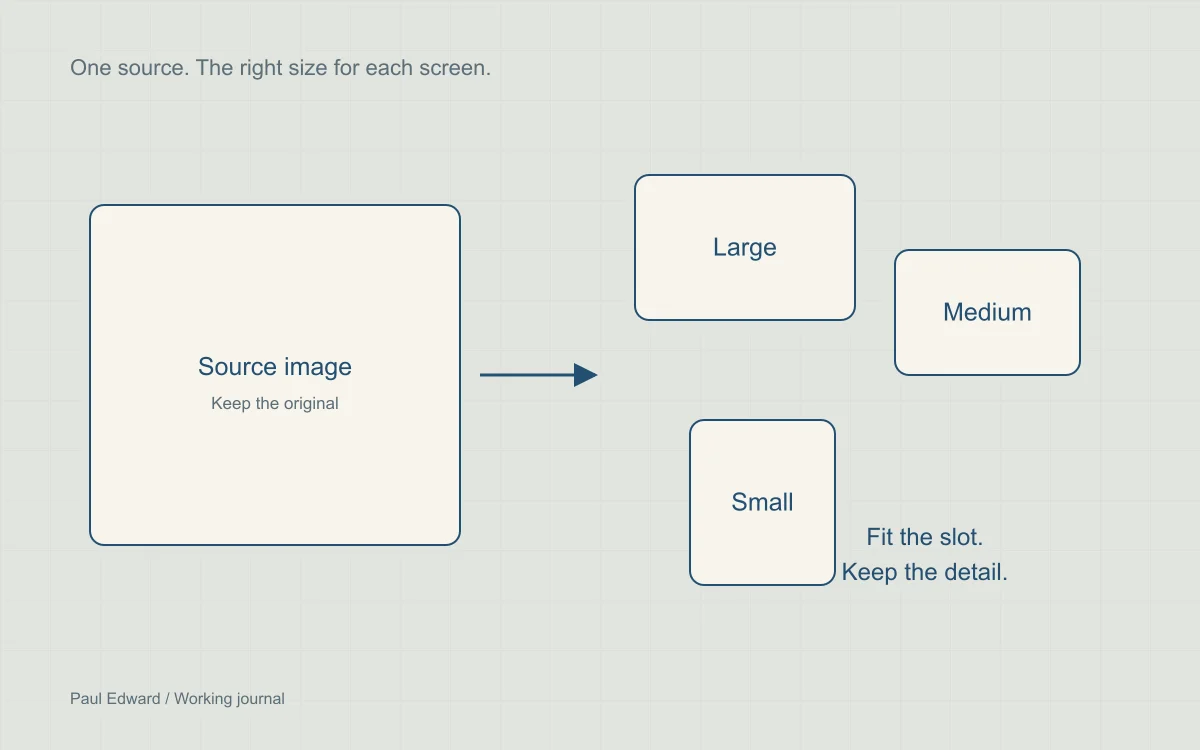
For a prominent photograph, prepare several useful widths and compare WebP or AVIF with the original format. Inspect quality at the displayed size: product detail, text, faces and gradients can need different compression settings. Keep the original in your media workflow so future crops and sizes do not start from an already degraded copy.
Let the browser select an appropriate source with srcset and an accurate sizes attribute. WordPress Media Library image helpers can generate responsive markup when derivatives and metadata are available. Check the rendered HTML because custom templates can bypass those benefits.
<!-- Example for an image displayed up to 720px wide. -->
<img src="/media/service-960.webp"
  srcset="/media/service-480.webp 480w,
          /media/service-960.webp 960w,
          /media/service-1440.webp 1440w"
  sizes="(max-width: 760px) calc(100vw - 40px), 720px"
  width="1440" height="900"
  loading="eager" fetchpriority="high"
  decoding="async"
  alt="Technician inspecting a commercial ventilation unit">
The dimensions reserve an aspect ratio; CSS can still make the image fluid. This example suits a likely LCP image, not every image on the page. Use lazy loading for supporting images below the initial view, and avoid giving all images high priority. Ensure the essential image URL is discoverable in the initial HTML.
Text-heavy images need special care. A tiny screenshot of a spreadsheet may be lightweight yet unreadable. Use HTML tables for essential facts and SVG for suitable diagrams. The responsive image guide explains delivery and quality checks in more detail.
4. Reduce theme and plugin work without breaking the site
A simple-looking page can load multiple sliders, icon fonts, animation libraries and widget styles. Audit what is actually requested and executed on each template. Remove redundant features before trying to minify everything they load.
Plugin count is a poor diagnosis on its own. One expensive integration can cost more than several small, well-scoped plugins. Record what each plugin does, where it is needed and who maintains it. Test deactivation in staging; never assume a plugin is unused because it has no visible homepage widget.
Load assets where they are needed. A contact-form script may only belong on a contact page; a product-gallery library may belong only on product pages. Preserve dependency order when using deferred scripts. Do not blindly delay authentication, payment, consent or essential navigation code.
5. Make interactions responsive, not just loading fast
Reproduce a slow action: opening the mobile menu, expanding filters, selecting a variation or submitting a form. A main-thread trace can show whether the delay is JavaScript execution, repeated layout or a large rendering update.
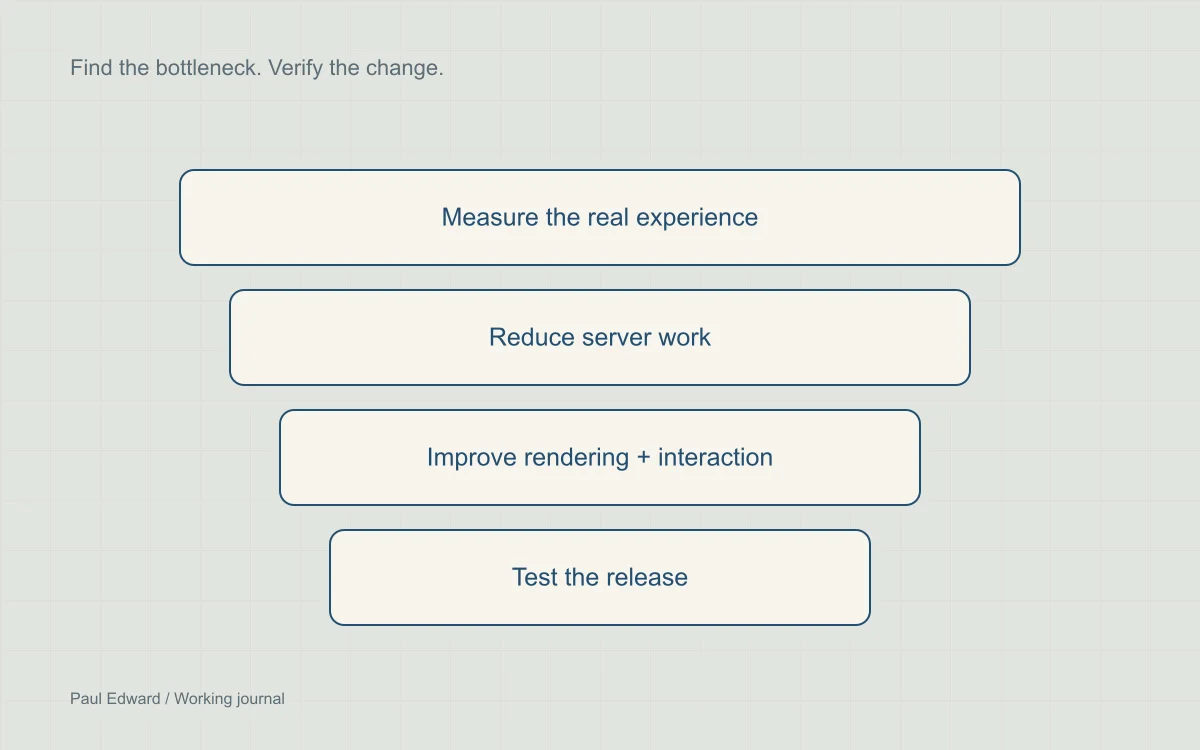
A repeatable optimization loop. Select a stage to see what a useful handoff to your developer includes.
Keep the URL, device, cache state, trace and customer action. A screenshot of a score is not enough to explain a slow interaction.
Separate server delay, late content and main-thread work. Follow the trace to a resource or operation you can change.
Resize the image, remove unnecessary work or correct the cache boundary. Record the change and keep a rollback path.
Repeat comparable tests and exercise the menu, forms and checkout. Monitor real visits after release, then investigate the next bottleneck.
The outcome is verified improvement in a real task, not an invented percentage or a guaranteed perfect score.
Reduce the amount of work first. Re-render only what changed, remove unnecessary listeners and avoid repeatedly reading layout measurements immediately after changing styles. If a computation is still large, break it into bounded chunks that allow the browser to respond between them. A worker can help suitable computation, but it cannot directly perform ordinary DOM updates.
Third-party chat, tracking, maps and video embeds deserve the same review. Load optional features when needed where appropriate, while preserving functionality and consent requirements. Replacing an immediate map embed with a clear “Load map” control may help more than compressing a small decorative icon.
Google’s INP optimization guide provides the technical framework. The practical acceptance test remains simple: the action should feel responsive on a modest phone, not only on the developer’s workstation.
6. Stop layout shifts and unnecessary transfers
Reserve dimensions for images, advertisements and embeds. Avoid inserting a banner above content after the reader has started interacting. Check whether a late-loading font changes line breaks enough to move controls. A fallback font and deliberate font-loading strategy can keep text readable while limiting movement.
Keep only the font families, weights and character sets the site actually needs. Preload an asset only after the waterfall shows that early discovery would help; indiscriminate preload requests compete with the resources you wanted to prioritize.
For media backgrounds, hiding a video with CSS is not a reliable way to prevent its download. Prefer a lightweight poster and explicit playback when the moving content is optional. Test the final design with reduced motion enabled and with keyboard navigation.
7. Verify checkout, publishing and forms before releasing
Prepare a small release checklist with pass/fail results. Test menu navigation, site search, form validation, successful submissions and emails. For WooCommerce, test variations, coupons, taxes, cart updates, checkout and payment confirmations using the appropriate test environment. Check consent-dependent integrations in both accepted and rejected states.
Then edit an article and replace an image. Confirm caches invalidate and both a fresh visitor and a returning visitor see the correct version. Test an authenticated session separately. Cache behavior is part of the product, not a setting to assume is correct.
Deploy one understandable set of changes, repeat the baseline tests and record the outcome. Monitor errors as well as speed. Public field measurements take time to reflect changes, so do not declare a site-wide improvement based on a single successful reload.
A realistic first-week plan
- Day one: measure. Choose the important URLs, capture lab results and reproduce customer complaints. Confirm backups and staging.
- Day two: inspect the origin. Profile slow uncached requests and agree safe cache boundaries with the host.
- Day three: fix the main content. Correct image sizing, discovery and avoidable rendering delays on the busiest templates.
- Day four: test interactions. Address expensive scripts and third-party features that block useful actions.
- Day five: verify and release. Run functional checks, deploy with rollback available, and record the new baseline.
This is a suggested order, not a five-day delivery guarantee. A complex shop or a heavily customized application may need several iterations. Prioritize work by measured impact, implementation effort and risk to the customer journey.
Frequently asked questions
Can WordPress be fast without rebuilding the theme?
Often, yes. Correcting oversized media, expensive requests or poor caching may solve the main problem. A rebuild becomes a reasonable option when the existing architecture makes essential improvements disproportionately difficult. Diagnose first.
Should every business aim for a perfect PageSpeed score?
A good score can be useful evidence from a controlled test, but the business also needs working features and a good real-world experience. Focus on the important user journeys and field measurements rather than removing necessary functionality to chase a number.
Will a faster website automatically rank first?
No. Performance supports usability and search quality, but the page must still meet the searcher’s needs and compete with other useful results. Read why WordPress can support a business SEO strategy for the wider picture.
Do fewer plugins always mean a faster website?
No. The work each plugin performs matters more than the count. Inspect slow requests, queries and scripts on the affected template. Remove unused or duplicated functionality in staging and verify dependencies before deploying.
How do I know whether a speed improvement helped customers?
Repeat comparable tests and exercise the action that was slow, such as opening a menu or submitting a form. Monitor available field data and errors over time. Confirm that conversion flows still work; an improved laboratory score with a broken checkout is not a successful result.
Sources and further reading
- WordPress: Performance optimization
- Google: Optimize Largest Contentful Paint
- Google: Optimize Interaction to Next Paint
- Google: Core Web Vitals and Search
- The 47-point WordPress speed checklist
If you need help deciding where to start, explore WordPress performance audits and optimization. Bring your slow URLs and the customer actions that matter most; those make a better starting point than a score alone.